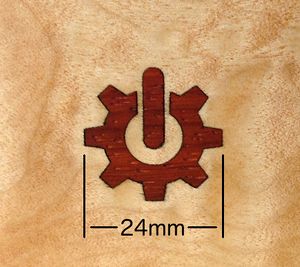
Laser Cut Inlay
This guide explains a method of adjusting a drawing to account for the kerf (the width of the cut).
Contents
Calibrate
Each material and combination of speed and laser power will produce cuts of differing widths. You MUST do some test cuts and engraves in samples of your actual materials. Choose a convenient dimension such as 5 mm or 10 mm. Record your speed and laser power settings for reuse later.
Measure the kerf for inlay cuts
Cut a small test sample of your actual inlay material. Record your settings! Ensure that each edge you will measure has been cut by the laser (i.e. don't measure from a stock cut side to a laser cut side). Carefully measure the result with calipers and subtract the measurement. For example 10 mm test measuring 9.92 mm has a kerf of 0.080 mm (80µm).
Determine settings for proper depth
Engrave a small test recess into a scrap of your actual material. Record your settings! Measure the depth, adjust settings and repeat until the depth measures slightly less than the thickness of your inlay material. Be sure to record your final settings!
Drawing preparation
The drawing must consist of solid vector shapes. Set the fill and remove the stroke, then size to actual dimensions. (Measurements in Inkscape include the line/stroke thickness.) You cannot simply scale the drawing later as doing so would scale the kerf adjustments too. Also, you may want to set the drawing to a known size, such as fit to objects plus 5 mm margin on all sides.
Adjust drawing
We'll use Inkscape to adjust the drawing for proper inside and/or outside dimensions. In this method we will export the drawing as a raster, import the raster, then use the Trace Bitmap feature to convert it back to a vector shape. It's not perfect, but this method seems to work well in practice. In this example we will exaggerate the adjustments for the sake of illustration (+0.75 mm and -0.25 mm). Use your own measurements from above.
The inlay cuts will be oversized by 0.75 mm.
The engraving will be undersized by 0.25 mm.
work in progress
Enlarge shapes for cutting inlay
- set fill and stroke to solid black, stroke width to 0.75 mm
- export to png (raster), whole page, 5080 dpi, good filename
- import raster image
- align to page
- Trace Bitmap, not smooth?
- on new object: remove fill, set stroke color and width to something small
- remove raster image
Shrink shapes for engraving recess
- set fill to solid black and stroke to solid white, stroke width to 0.25 mm
- export to png (raster), whole page, 5080 dpi, good filename
- import raster image
- align to page
- Trace Bitmap, not smooth?
- on new object: remove fill, set stroke color and width to something small
- remove raster image
