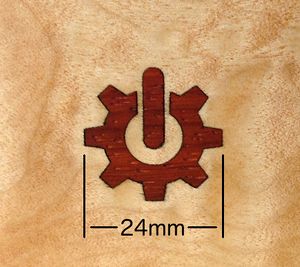
Laser Cut Inlay
This guide explains a method of adjusting a drawing to account for the kerf (the width of the cut).
Contents
Calibrate
Each material and combination of speed and laser power will produce cuts of differing widths. You MUST do some test cuts and engraves in samples of your actual materials. Choose a convenient dimension such as 5 mm or 10 mm. Record your speed and laser power settings for reuse later.
Measure the kerf for inlay cuts
Cut a small test sample of your actual inlay material. Record your settings! Ensure that each edge you will measure has been cut by the laser (i.e. don't measure from a stock cut side to a laser cut side). Carefully measure the result with calipers and subtract the measurement. For example 10 mm test measuring 9.92 mm has a kerf of 0.080 mm (80µm).
Determine settings for proper depth
Engrave a small test recess into a scrap of your actual material. Record your settings! Measure the depth, adjust settings and repeat until the depth measures slightly less than the thickness of your inlay material. Be sure to record your final settings!
Adjust drawing
We'll use Inkscape to adjust the drawing for proper inside and/or outside dimensions. This example uses exaggerated dimensions so the result can be easily seen. Use your own measurements from above.
The inlay cuts will be oversized by 0.75 mm. The engraving will be undersized by 0.25 mm.
work in progress
